Shop Shots Volume 73 Insider Pictures of Automotive Service
Happy Wednesday everyone. Sadly this time it is actually Wednesday. But hey, it is still Shop Shots day. We are as busy as can be at the shop. That means I am busy busy busy fixed and maintaining VWs. But enough about that, let’s talk Shop Shots!
 The first picture come to us by way of a complete hack mechanic. You are looking at the the cowl panel of a VW Beetle. That is the trim right at the bottom of the windshield. You will notice that someone has drilled a hole in the trim. Talk about a hack move.
I can only assume why some tool would drill this hole. My guess is to replace the bushings at the top of the strut. The right way to do this job is to remove the wiper arms, and remove the trim. If you do it right, it takes about 10 minutes max. But if you are a hack mechanic, you aint got time fo dat!
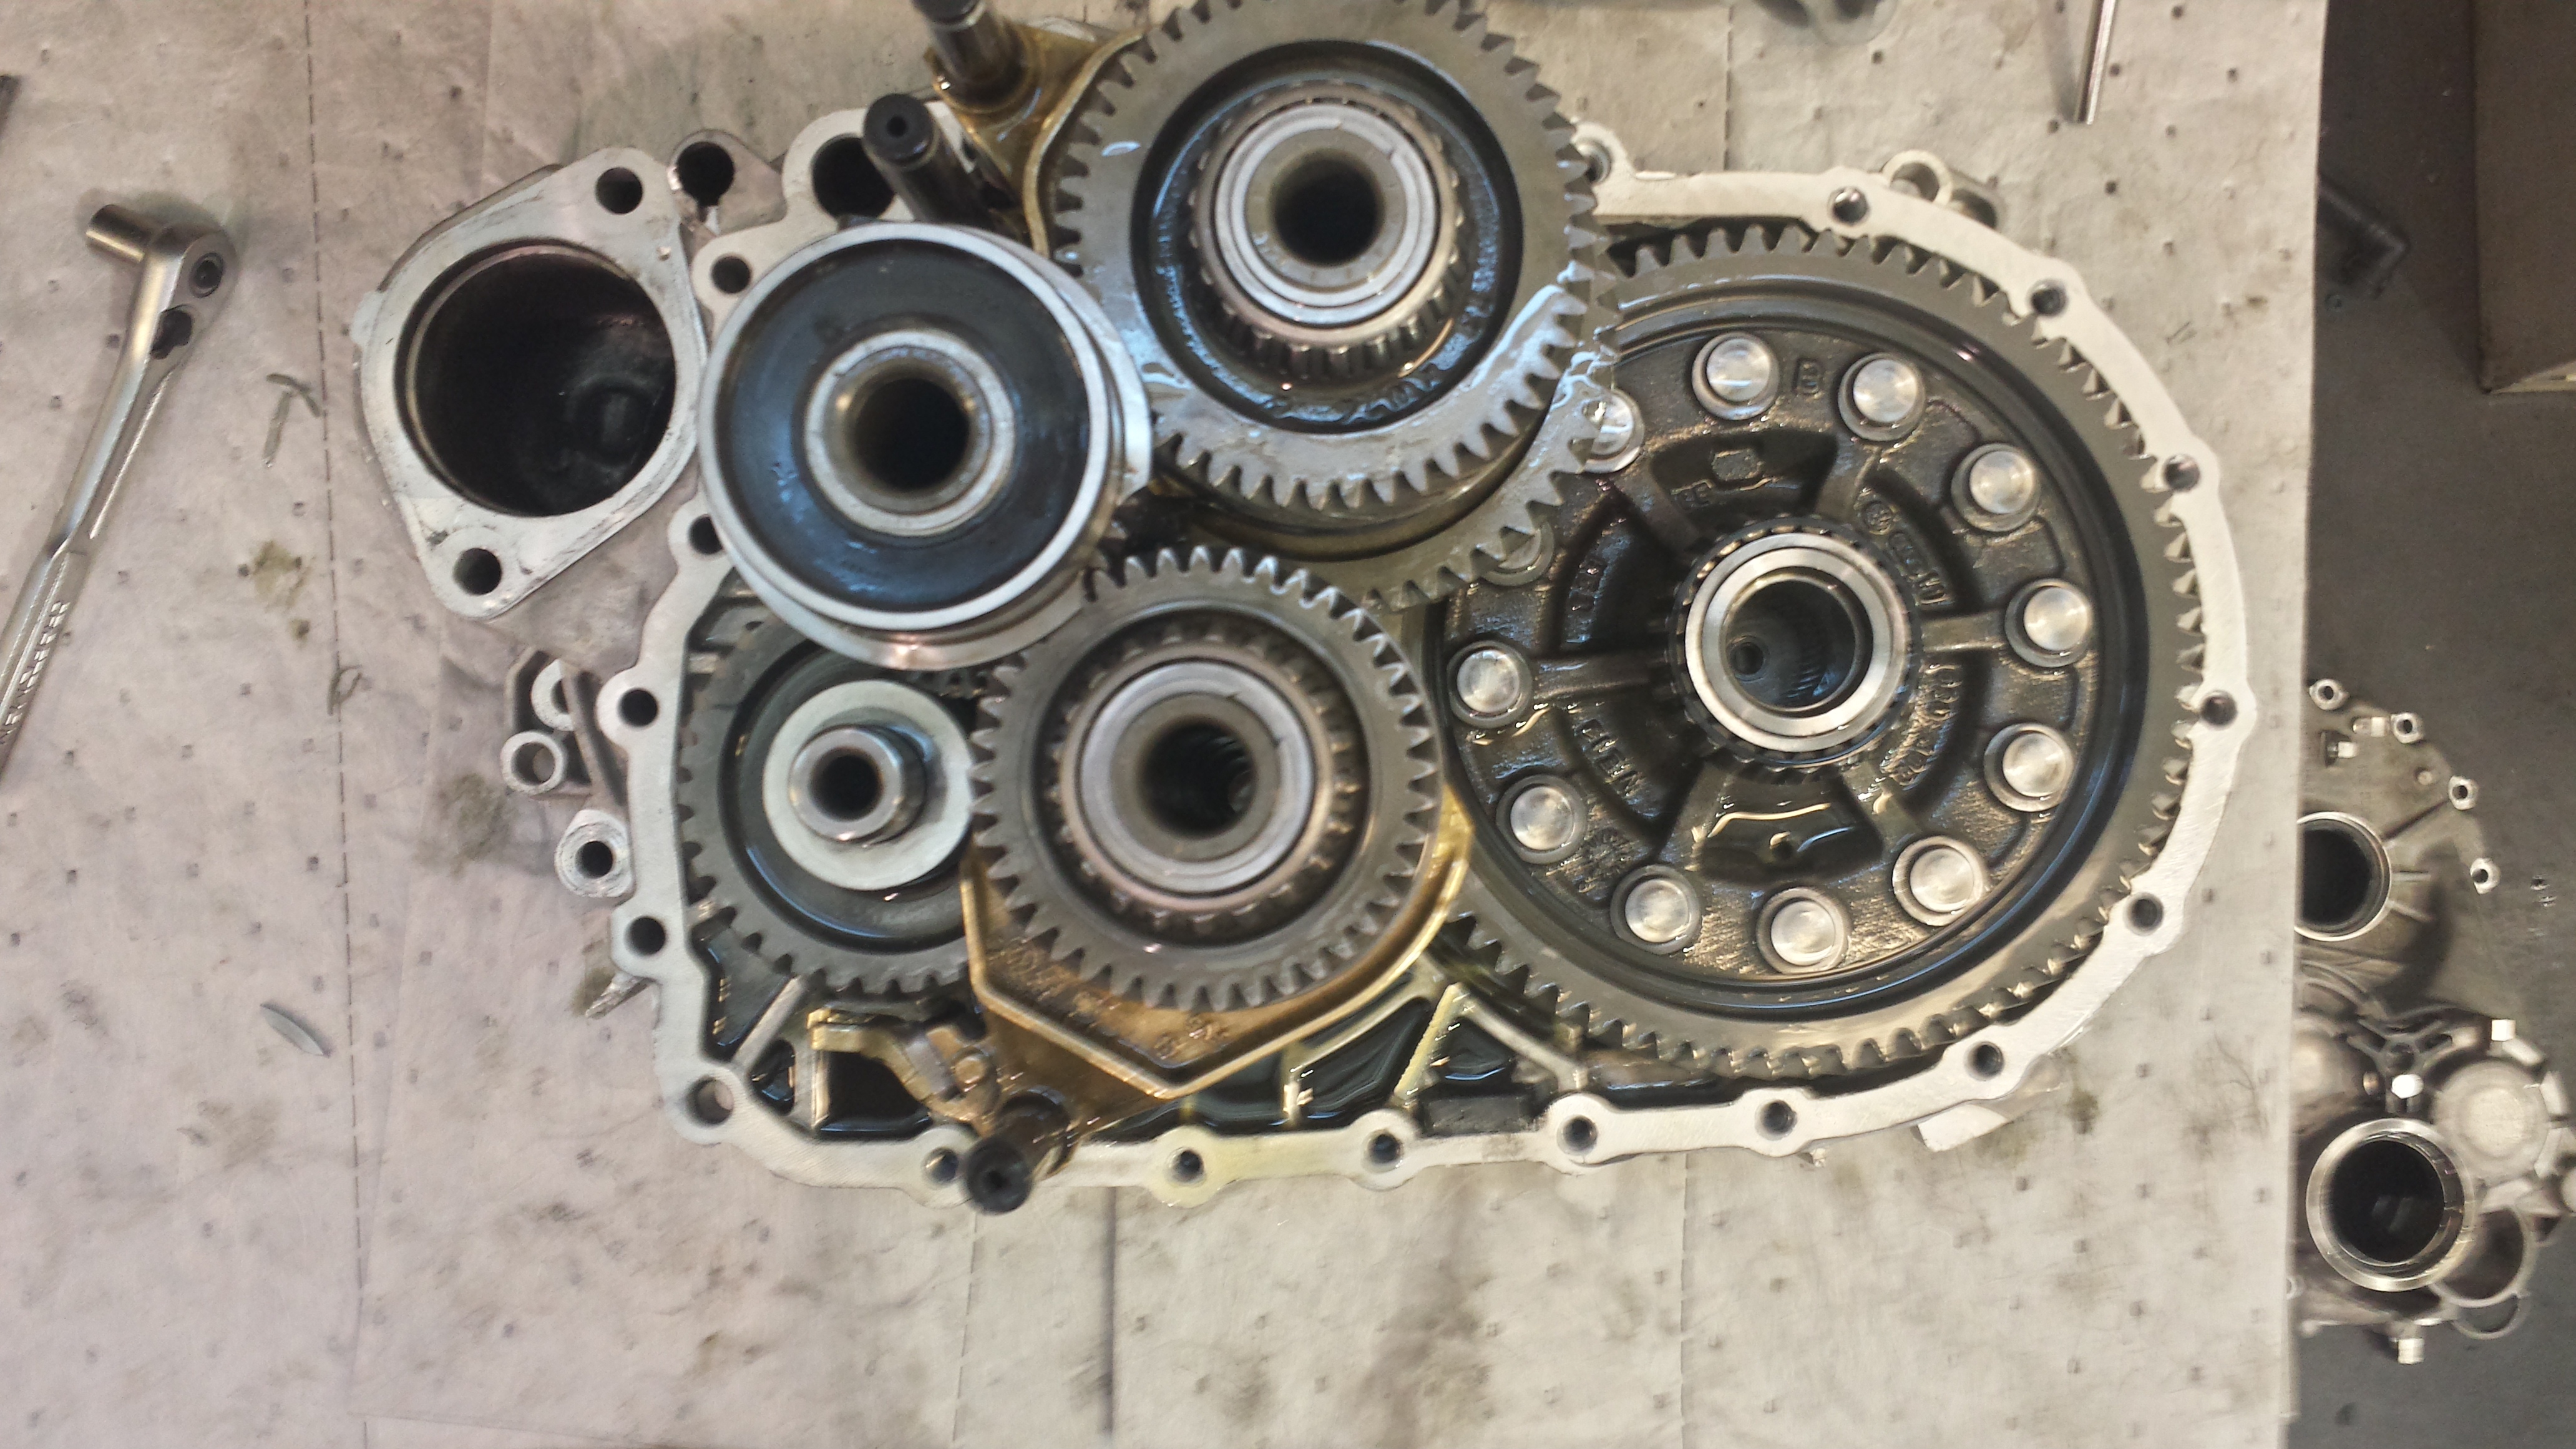
 This type of picture makes me feel a bit like a curios kid. When ever I see an engine or a transmission taken apart, I get excited. Especially when I am not the one taking it apart. 😉 Not that I mind doing this type of work, it just doesn’t pay that well.
This is the the top view of a manual transmission. One of the boys had this apart to replace a syncro. After a few times taking the transmission out and putting it back in, he ended up having to replace the entire transmission. There was some noise issues. I don’t have much to add, I just love taking pictures of this type of thing.
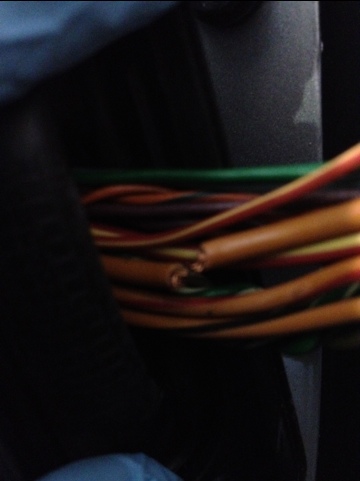
 I feel like this is the things that mechanics have nightmares about. You are looking at a wiring harness in a 2014 Tiguan. The customer had about 400 miles on their car. They brought it in because the 12v outlet wouldn’t work. When I got the car the fuse was blown. Each time a new fuse was installed, it would pop. That could mean the power wire was shorted to ground(which is the brown wire in the picture).
I got a great tip for finding a shorted wire with your multi-meter
- Set the meter to continuity check. Most meters have an audible tone when continuity is achieved.
- Place one of each lead at each wire If they are shorted, the meter will beep.
- Start moving the harness in various places
- When the meter stops beeping, you have found the source of the issue.
After messing around with the front console for a while, it was time to move on to the rear console. I set the meter up and was getting nowhere. When I moved to the back, I took one of the screws out of the trim panel. As soon as I started taking the screw out, the meter stopped beeping. With the panel off, this is what I found. When the panel was installed the harness got smashed, and the screw driven through the wires. A quick wiring repair, and the car was good to go.
Well that does it for another round of Shop Shots. I hope you all have a great week. Also, feel free to share this post. I tried to make it really easy to share. You can use either the buttons on the top, or the buttons under the “You may also like” links.


Looking at the inside of a transmission is like looking at the inside of a clock. Very cool indeed.
No doubt that the hole is for a long extension to fit through to get down to the nuts on the strut mount. Typically when I find a hole drilled in plastic trim it has a zip-tie through it to hold it to something solid. Sometimes 60% of the car seems to be held together with zip-ties.
So drilling that hole, is that just someone who doesn’t exactly know what they’re doing? Or are they just trying to take a shortcut and hope the owner doesn’t notice?
100% taking short cuts. It takes maybe 10 extra minutes to remove that cowl and do it right. Just plain LAZY!