I know it has been about forever since I updated the Luv A Dub project. Like many car projects, it is slow going at times. There are things that have to line up to get a project really rolling. I think we are just at the edge of this project really taking off.
I wrote a post a while back about the donor car I bought for the engine and the transmission. The 1998 Jetta had a VR6 paired with an automatic trans. When I got that Jetta I knew it had engine issues, and it would require some work to get running. The other issue is I wanted a manual transmission. I had a transmission that I was getting for free. It turns out that a transmission from a 4cyl tdi will not bolt up to a VR6. Seems pretty logical when I think about it. I just had dreams of getting a free transmission.
The transmission quest was a bug success. I found an transmission AND an engine for $400. The engine is a VR6 as well. I will be picking up the engine and transmission on Thursday and update you guys with pictures. The plan is to use that engine and transmission in the Cabby.
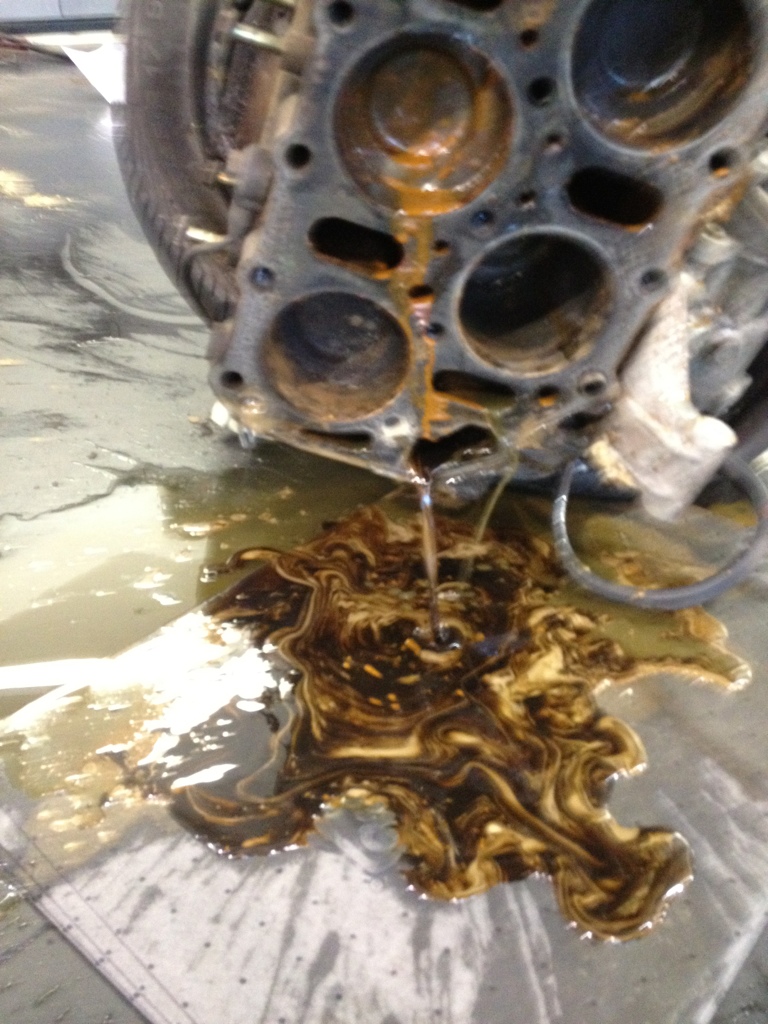
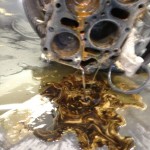
Since I the engine from the Jetta, I figured I would disassemble it and see just how bad the damage was. The engine had a blown head gasket. Below is a video of when I drained the oil. You will notice that it looks like water coming out of the engine. That is actually water draining out of the oil filter. The brown liquid coming out of the oil pan is oil and coolant mixed. I didn’t expect that much water to be in the oil. I would have started the video sooner. 🙂
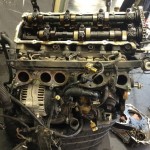
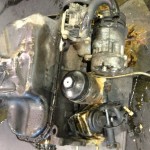
This is what happens when oil and coolant mix. It makes a nasty mess. When I disassembled the engine, I found plenty more of the oil/coolant mess. This stuff is pretty tough to clean. It seams that this engine was in pretty bad shape. The tensioners for the timing chain were also broken. Little bits of plastic were stuck in the oil pump. It seems that finding that other VR6 was a really good thing. Below are a few pictures of the VR6 being disassembled. Thanks to my awesome wife for getting helping me out with the pictures.
-

- Shot of the VR6 block. The holes are full of coolant. They should not be That is actually the cylinders, they move air not coolant.

-
- This is me, working in a giant mess HA

-
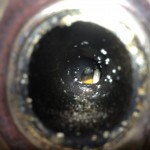
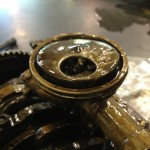
- That little spot of yellow is coolant on top of the exhaust valve. There was THAT much coolant.
-
- You can see that the cylinders have coolant in them. This is also a cool shot of the bottom end of a VR6.


-
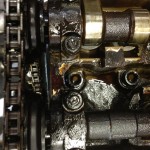
- Close up of cam lobes and the upper timing chain
-
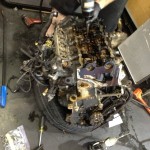
- More oil and coolant mix, what a mess
-
- Valve cover off, you can see the cams. Thankfully there was no damage to the cams.
-
- Timing chains. This is what connets the cam shafts and the crank shaft.

-
- This is the timing chain guides jammed up in the oil pump
-
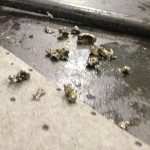
- This is the bit of plastic that were in the bottom of the oil pan. They came from the timing chain guides
-
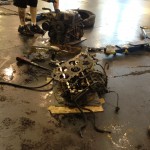
- Who needs an engine stand when you have an old tire!
-
- Upside down VR6 engine
-
- More engine mess
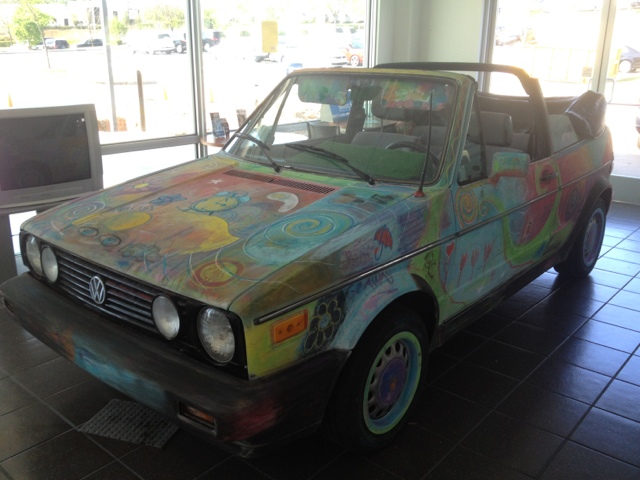
That is pretty much where I am at with the Cabby. In a totally random turn, I met the guy that owned the car “pre-art”. He drives a 2008 Passat. He was in for an oil change and brought a spare key. Sadly it is not a factory VW key. He said that he is going to email me some pictures of the Cabby before he sold it. I am really looking forward to seeing those pictures.
I also need to let you all know that I will be traveling this week. I will be heading to VW training. I will be getting my hybrid certification. I actually got a chance to drive the Jetta hybrid last week. The car drives good. It has a great amount of power. The torque was fantastic. I will do a full post about it this week. If you guys have any Jetta hybrid questions post them in the comments. I have 2 full days of training. That means plenty of time to get all of our questions answered.