Tag Archive for: restore

restore subframe

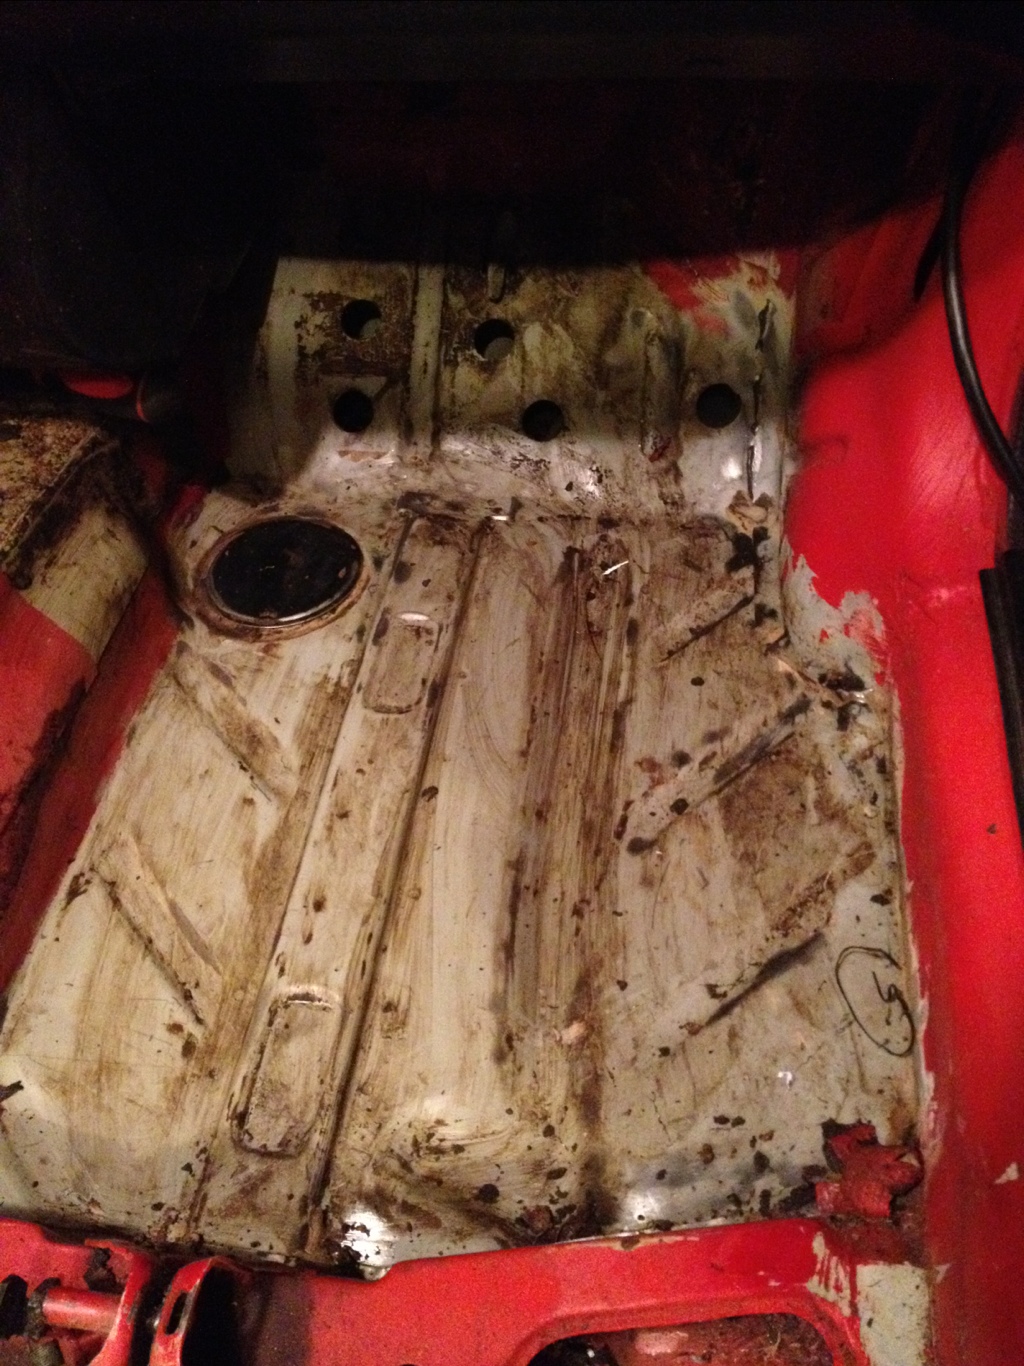
Part of any car restoration is prepping, cleaning and painting what seems to be an endless number of parts. When you can remove a subframe to refinish it, you really should. Today I show you exactly how to paint your subframe and all the steps to make your old subframe look new. As we start putting parts back on the GTI, taking the time to clean, prep and paint each part is important. These little details can be the difference between being happy with a build, and being in love with a build. I am really happy with how this subframe refinish came out.

Become A CrewMember
If you like this show. If you get value out of the videos and content that I put out, consider supporting the show by becoming a CrewMember. You will get discounts you can’t get anywhere else, exclusive videos from me, and VW/Audi training manuals. Between the discounts and the training manuals, the CrewMembership can easily pay for itself. Become a CrewMember today

Help Support The Show
Many of you have asked about supporting the show. For that I thank you. For now, the best things you can do are SHARE THE SHOW, and shop with my links on Amazon. You will not spend any more money that you would normally. Here is the Amazon link ~ Humble Mechanic on Amazon or you can check out some recommended tools I have listed below.

Important links:

Quick note, you may be better off buying these items locally. They were as much as half the price of Amazon.

Trouble viewing? Watch “Refinish An Ugly Subframe” on YouTube.

As always I love to hear your thoughts. Please post them in the comments section below.  Also if you have an idea for a show, contact me via email, or use the contact me form! Don’t forget to follow me at:

Hey folk, it is FINALLY Friday!

Today’s update on Luv a Dub is the video I promised a while ago. I had the chance to test drive removing the factory sound dampener by using dry ice. The other methods that I tried were, chiseling, and using a heat gun and scraper. The chisel didn’t work at all. The heat gun worked awesome. You can see the video of the heat gun method at Removing VW Sound dampener with a heat gun.

The theroy behind using dry ice is that it will “freeze” the dampener and make it really easy to remove. That would mean much less clean up. The issue with heat is, it leaves the tar residue behind. Lets find out if dry ice is the solution.

As you can see in the video, dry ice didn’t work at all. I left it on for almost 30 minutes and it was no easier to remove than with the chisel. It looks like the heat gun was the way to go.

Here is the floor after removing the sound dampener. I still have to do a final cleaning.

This took me about 10 minutes of work. The dry ice took about a hour when you factor in going to get it. To me, dry ice was a waste of time. 🙂

I am actually off work until Wednesday of next week. That means I should have plenty of time to work on the Cabby. MY rust treatment came yesterday, so I will have a video up for that soon. While I am out of the shop, hit me up on Twitter or Facebook OR instagram!

What does everyone have planned for the weekend? If you got a cool project happening, share what you are doing..

Volkswagen Cabriolet Humble Mechanic

If you have been following the blog, (of course you have 😉 ) you know that I have been searching for a project car. You might also know that the Cabrio and Cabriolet hold a little place in my heart. I think that a convertible plus a VW is a winning combination.

My first car was a convertible. It was a red 1995 Jeep Wrangler. It was so much fun to drive, top down jamming to some tunes! Driving my Jeep that way really made me fall in love with driving. There are only a few things I find more relaxing than a nice drive in a open top ride. Ah nostalgia!

Well, I finally found the car. She WAS a sweet little VW Cabriolet. To be honest, I totally forgot what year it is. (do’h). I say WAS because she got violated. From what I understand, it was donated to a charity. Then it got brought back to my work. It was in the show room for a while, and I finally talked the management into letting be buy it. I tried like hell to buy it before it this happened to it.

Volkswagen Cabriolet Humble MechanicYes friends, that is CHALK! Sidewalk chalk. It went from a red that needed some love, to this. I think that I will draw a teardrop on that eye while I fix the rest of the car.Interior VW Cabriolet auto mechanic

The inside did not fair much better. I hope that I will be able to restore the dash. The sad part is, the dash was PERFECT! That was one of the most valuable parts on the car. I don’t know exactly what they did, but it is sticky as can be. My guess is some sort of paper machete type thing. Be sure to notice the green on the floor, and around the shifter. If that looks familiar, it should. It is that outdoor “carpet”! WHY WHY WHY????


As you can see, there was no panel safe from chalk. Auto Mechanic Project CabrioletI have not really decided what I want the overall project to look like. My first mission is to get the car back to stock. I think that it as a small oil leak, but what VW doesn’t. The really awesome part for your guys is, I can demonstrate some really great cleaning and restoring techniques. While I hate washing cars, bringing a VW back to life is a whole other ball game.

Auto Mechanic Project Cabriolet

Here is the whole thing. They even got the rims! What do you guys think? I know I have a lot of work ahead of me. I am sure my wife thinks I am in way over my head, or maybe my wallet.

What do you guys think we should call this project? How about this, you guys post a project name in the comments. We can work together to pick a cool project name. Tell ya what, we pick your project name, I will send you a cool VW prize!

Help put more project names into the pot, click one of the buttons below!